|
|
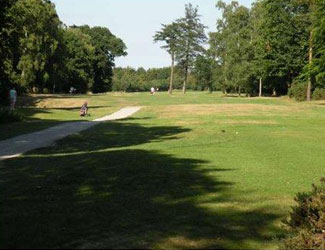
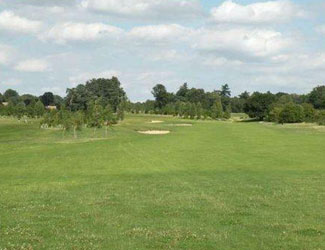
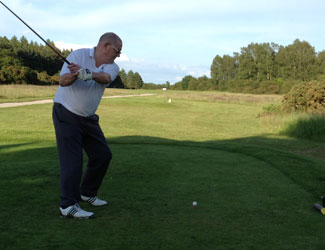
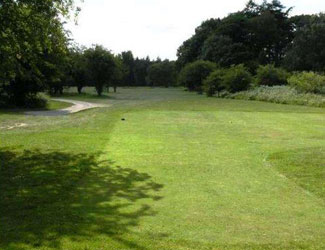
Hole 1
A straight but testing par 5 – the longest on the course - tree lined for the first half, and opening out nearer the green after passing “the cricket stumps”. Watch out for the bunkers on the right
|
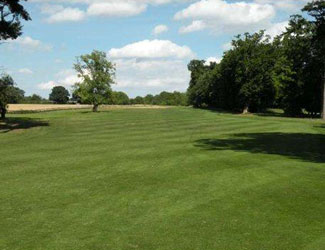
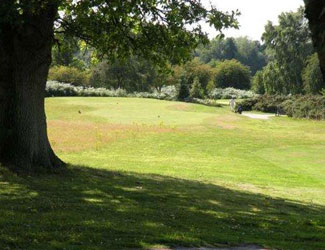
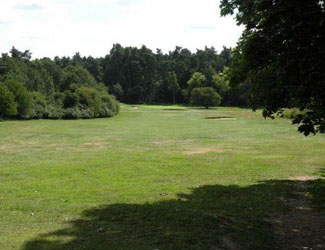
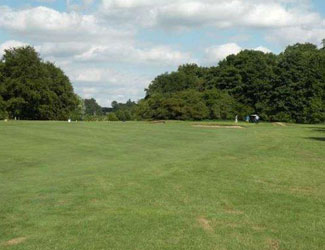
Hole 2
The most difficult par 4 on the course. The ideal tee shot is right of centre, which allows the best line of approach to the green. Out of bounds on the right at the beginning, and trees encroaching on both sides nearer the green. |
|
|
|
|
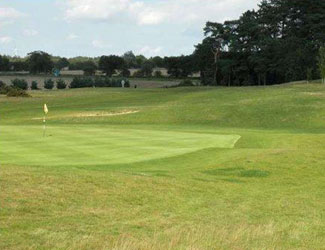
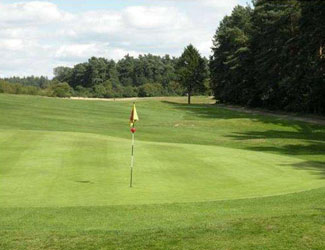
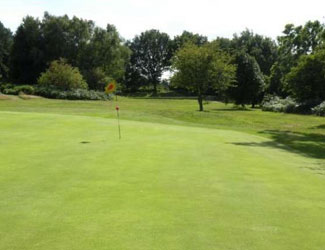
Hole 3
A demanding par 3, guarded by bunkers at the front left and right. Plenty of room once you carry the front bunker, or take a line slightly to the left and run on to the green. |
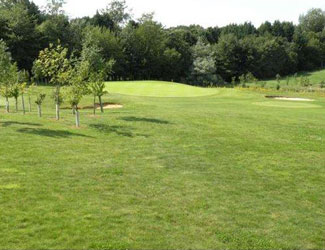
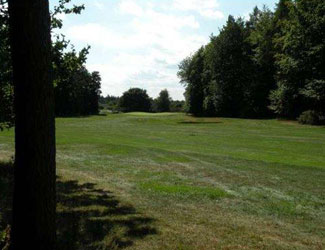
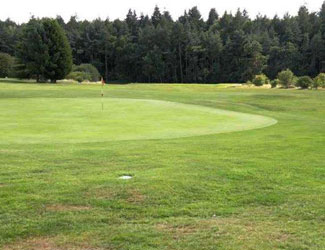
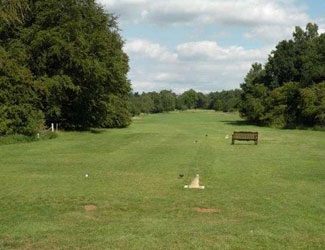
Hole 4
An open hole, inviting a strong drive - but needs care on the left-to-right slope. The green is sheltered from the prevailing wind, so beware of over-clubbing your second. Three greenside bunkers catch the unwary |
|
|
|
|
Hole 5
Also an open hole – but with danger on the right if you overdo compensation for the slope. The challenging green is a fine example of the undulating greens characteristic of the course |
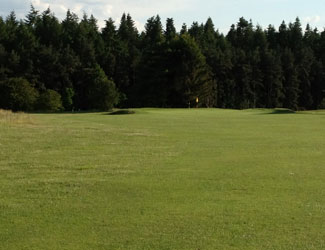
Hole 6
An uphill par 3 – and the longest – whose green is protected by bunkers front and left, and by trees to the right. Just to the right of the pin is the safest line to take. |
|
|
|
|
Hole 7
A dogleg to the right, and tree-lined all the way. A bunker lurks on the right at the angle, but a good tee shot to left of centre is rewarded by a straightforward approach to the green |
Hole 8
A gentle dogleg to the left – but an open fairway to the right, allowing a straight approach to the green, which is concave and gathers the ball nicely. The bunker at the rear of the green means making a more cautious approach shot. |
|
|
|
|
Hole 9
A straight, open hole to finish the front 9, with bunkers to left and right of the green. |
Hole 10
Originally the first hole. The shortest par 4. and leading away from the clubhouse on a downward slope, it offers a tempting drive followed by a short approach |
|
|
|
|
Hole 11
A dogleg to the left, with an option for the long hitter to cross the corner, and plenty of room for the rest. Open, but with a difficult approach to the sloping green and its protective bunkers |
Hole 12
A shorter uphill par 3, surrounded by six bunkers (though none at the rear). The green looks benign – but has some surprises for the incautious golfer. |
|
|
|
|
Hole 13
A long par 5, with a dogleg right past woods from the tee. The cross bunker further along the fairway asks questions about club selection, and a right to left sloping green makes for a tricky approach, and final putt. |
Hole 14
A slightly uphill short and straight par 4 with OOB on the left – provides the best opportunity for a birdie. One of the few flat greens. |
|
|
|
|
Hole 15
Another par 5 , this hole is straight and wide with few hazards until the last 100 yards, with bunkers front left and right. A right to left slope and some gorse and bushes lining the hole can still catch the unwary |
Hole 16
The shortest par 3 on the course – with possibilities for a hole-in-one – presents a surprising difficulty in club selection. Like many of the greens – has a sting in the tail. |
|
|
|
|
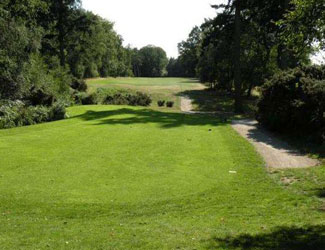
Hole 17
The club's "Signature Hole" – a par 4 uphill and then down, with the green protected by a steep dip in front, and trees to left an right. All against a backdrop of mature hardwood and softwood trees behind and beside the green. Drive to the marker pole, the second shot needs to be accurate to carry the dip and avoid the trees |
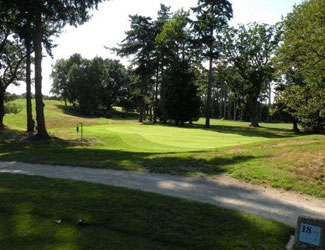
Hole 18
Vying with the 17th for attractiveness, this hole provides a challenging finale to your round. A long par 4 (par 5 for ladies), which although straight, requires accurate shots – especially as the fairway narrows towards the green among the trees. |